James and I decided to work at uni to produce some test pieces with some strips of paper, so that we knew exactly what works well, what is hard, what looks good, etc..

Using pins helps with keeping the letters in place, but it works better once you've started to stick the letters down, rather than using the pins as an outline to work with..


I played around with making different shapes using quilling techniques, and tried filling in the inside of the design with paper strips..


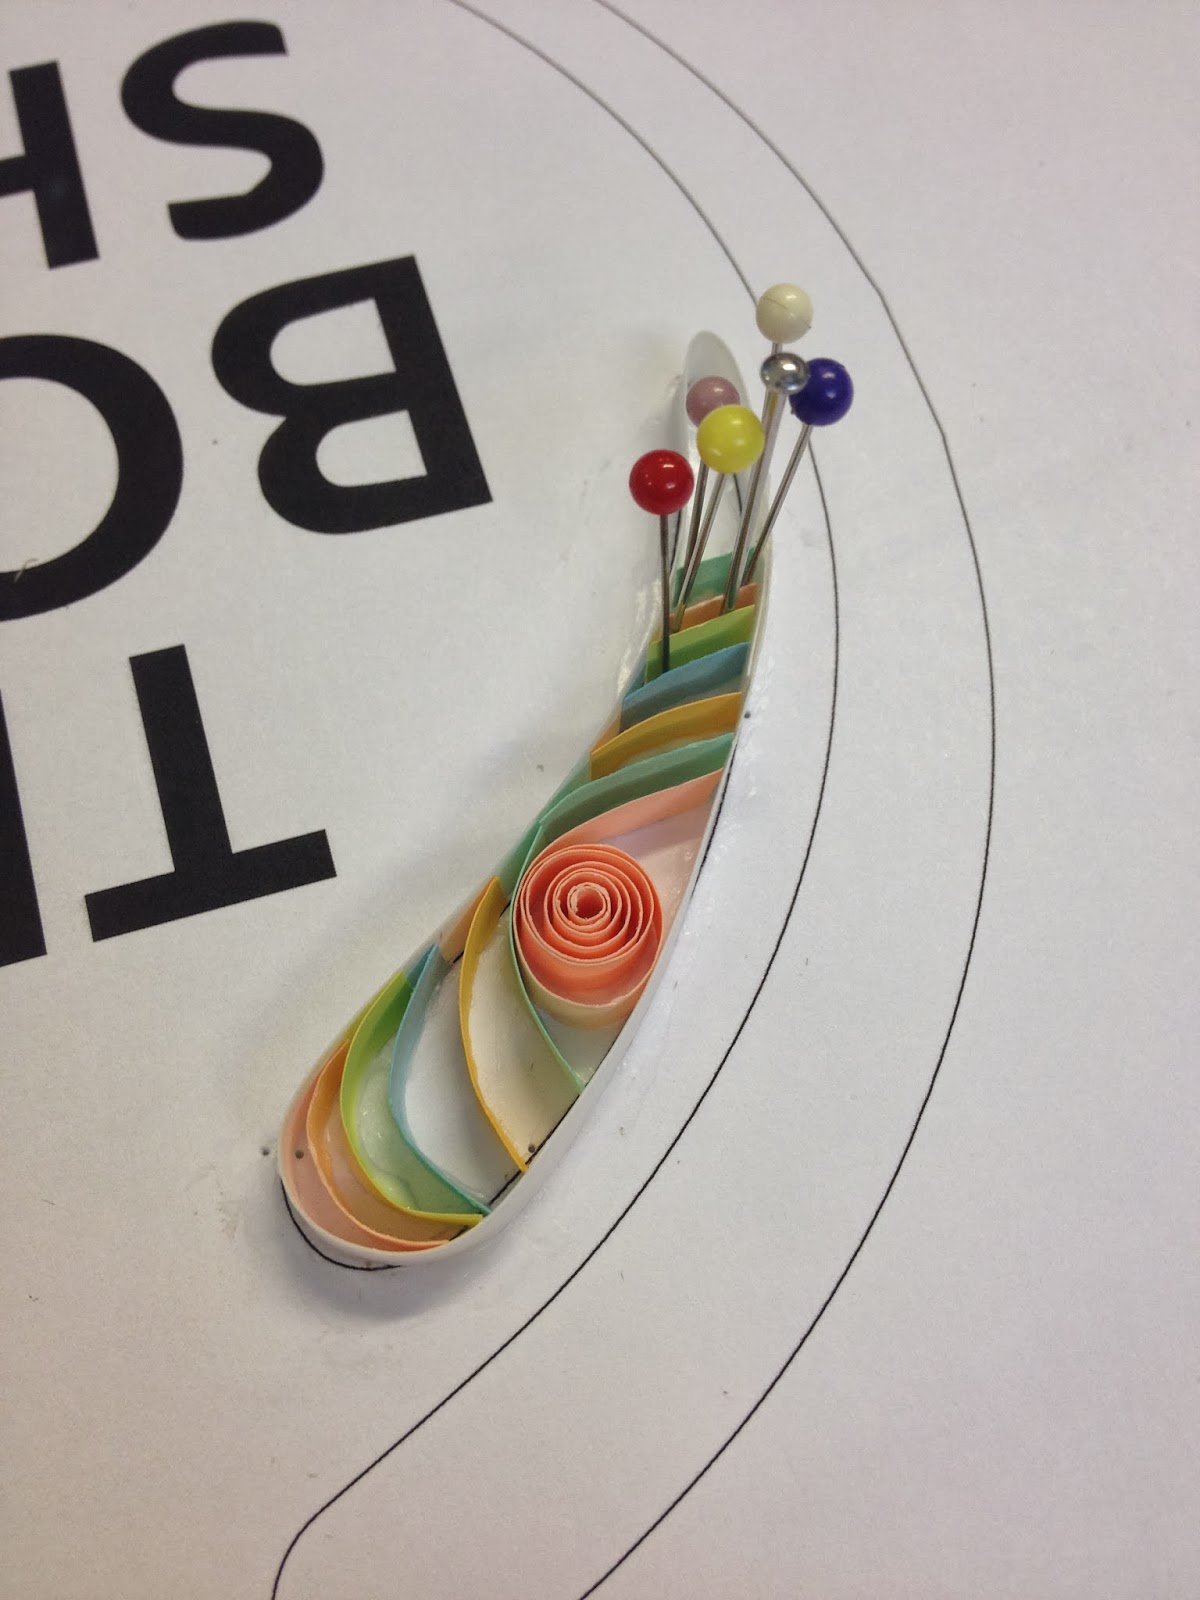

This was really fiddly!!!!

Using pins helped to construct curves and keep the paper in place whilst the glue sets..


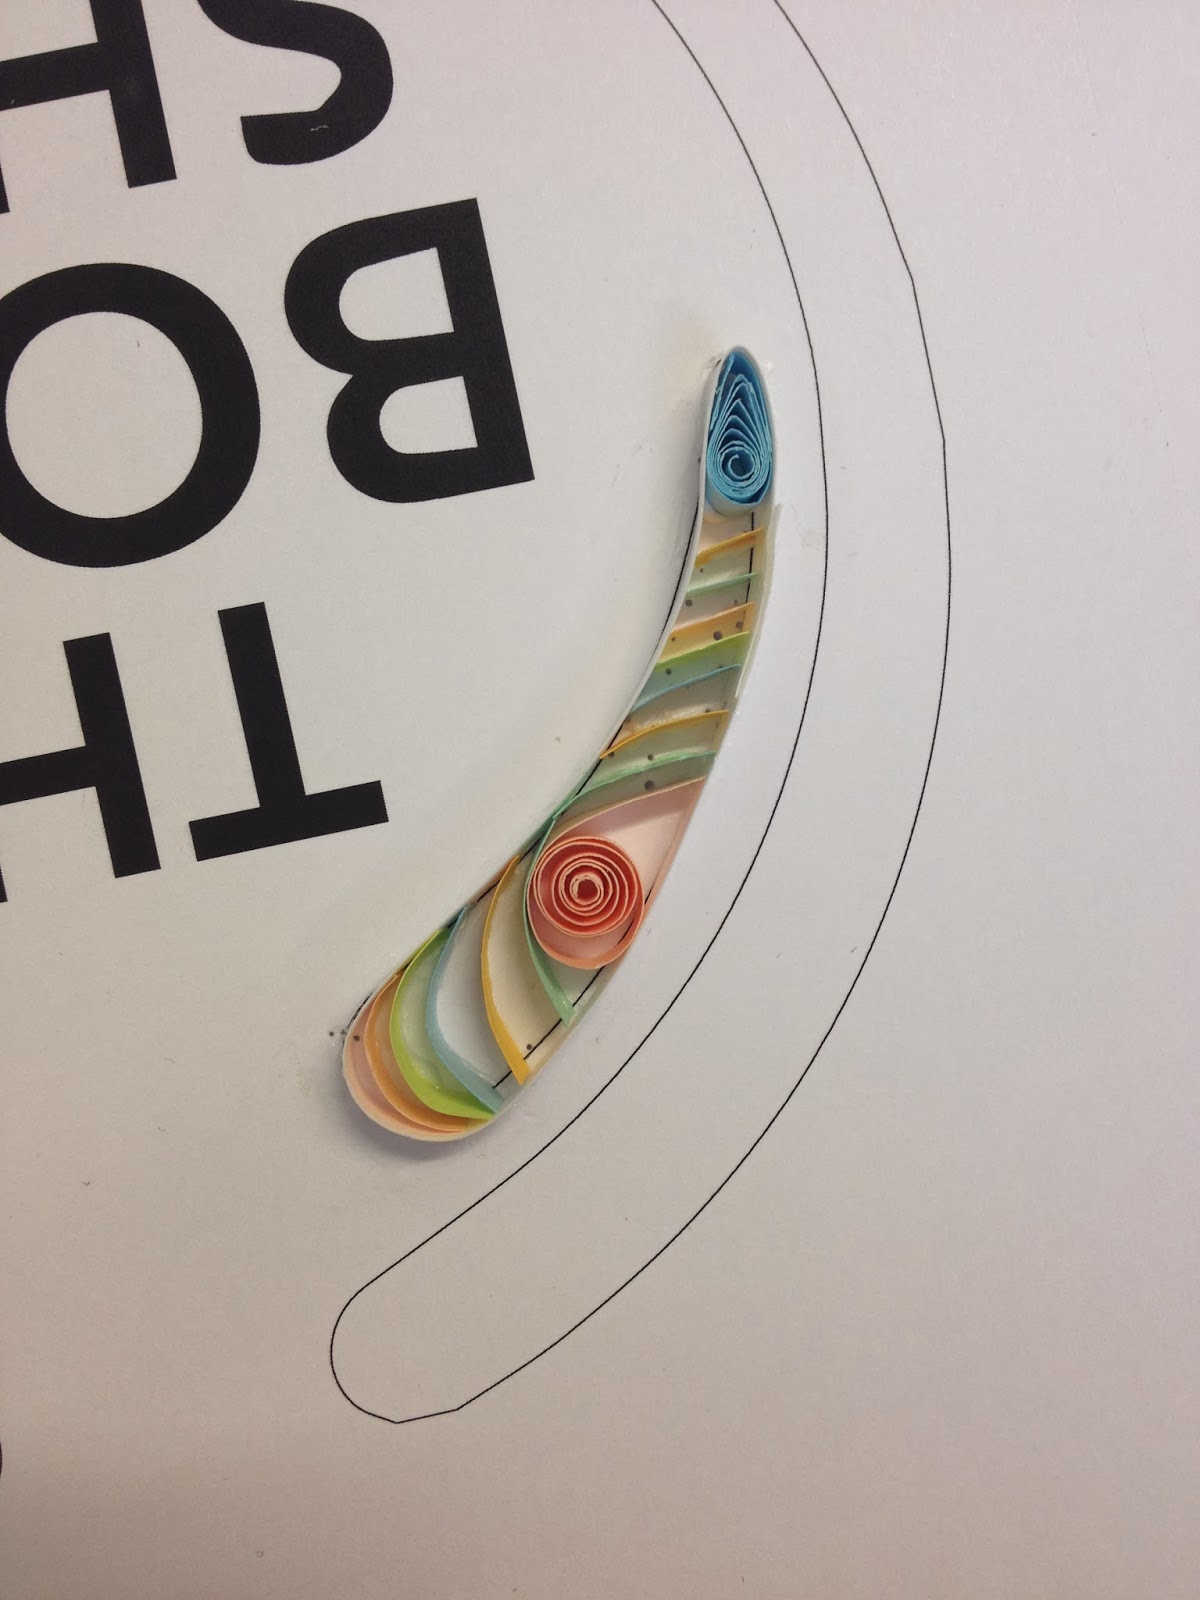
Sticking down paper shapes and swirls was really easy, as they weren't so fiddly to place..

I quite liked the effect from filling the insides of the shape in with paper, however it can look a bit messy and was really hard to get perfect!


Meanwhile, James was working out how to create the letterforms out of paper effectively. He tried it out with a few different stocks to see what worked best..


The white stock was our favourite..

I also had a go at making letterforms out of paper, so that we both knew how to work with it. I then started to fill the background area in with swirls of paper..


James started to fill the inside in with strips of paper, then experimented with filling the background in with paper, but it was hard to read with the background in strips..


The more colours, the easier it was to distinguish the design of the poster..


After experimenting, we discovered easier and quicker ways of creating each part of the poster. We also found that we preferred filling the background of the poster in with colours than the inside of the typography, as it was easier to read and exciting to look at.

However, after the crit, we had a few changes in ideas and have decided to work with the bottom left way of quilling inside the typography, as we're going to make the background differently!
- Leave your comment • Category: collaborative brief, OUGD503, responsive, studio brief 2
- Share on Twitter, Facebook, Delicious, Digg, Reddit